
Mastering Project Organization: How to Use Labels & Tags in KIMP360
Managing multiple design requests can be challenging, but with KIMP360’s Labels and Tags, staying organized becomes a breeze. These two features work together to help you streamline your workflow, ensuring that projects are easy to manage and track.
While Tags can be used by clients to categorize their design requests, Labels are a tool exclusively managed by KIMP team members to keep you updated on the status of your projects. In this blog, we’ll break down how each feature works and how they can enhance your KIMP360 experience.
i. Labels: Keeping You Informed
In KIMP360, Labels are used by KIMP team members to indicate the current status of your design requests. These color-coded markers provide you with a quick visual update on where your project stands, helping you stay informed at all times.
How it works:
You can view the label assigned to each request directly from your dashboard, giving you an instant overview of all your projects.
Labels are assigned by KIMP Project Managers. They categorize each request based on its stage in the design process.
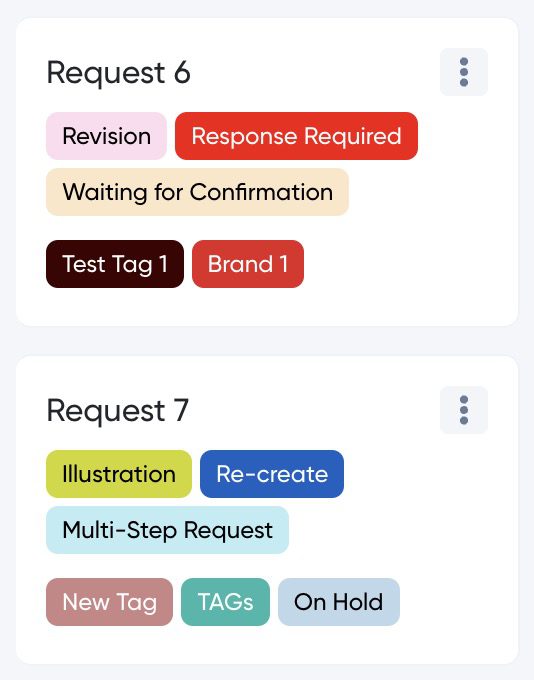
Common labels include:
> Multi-Step Request
> Priority
> Response Required
> Revision and
> Waiting for Confirmation
Why Labels Matter:
– Transparency: With labels, you can see exactly where your project stands without needing to reach out for updates.
– Simplified Workflow: Labels ensure that you’re always in sync with the design team, making it easier to manage deadlines and expectations.
– Focus on What’s Important: Instead of juggling multiple projects blindly, you can quickly prioritize which tasks need your attention based on their label.
Pro Tip: While you can’t apply labels yourself, you can refer to them to know when you need to provide feedback or review a design.
ii. Tags: Customize and Organize Your Requests
Unlike labels, Tags in KIMP360 are fully customizable and can be applied by clients to categorize design requests. Tags help you group similar projects together, making it easier to search, filter, and manage your growing list of requests.
How it works:
– When submitting a design request, you can add tags to specify categories, project types, or clients. For example, you can tag requests as “Social Media,” “Website Banner,” or “Client A.”
– Tags can be customized to fit your workflow, helping you organize requests in a way that best suits your needs.
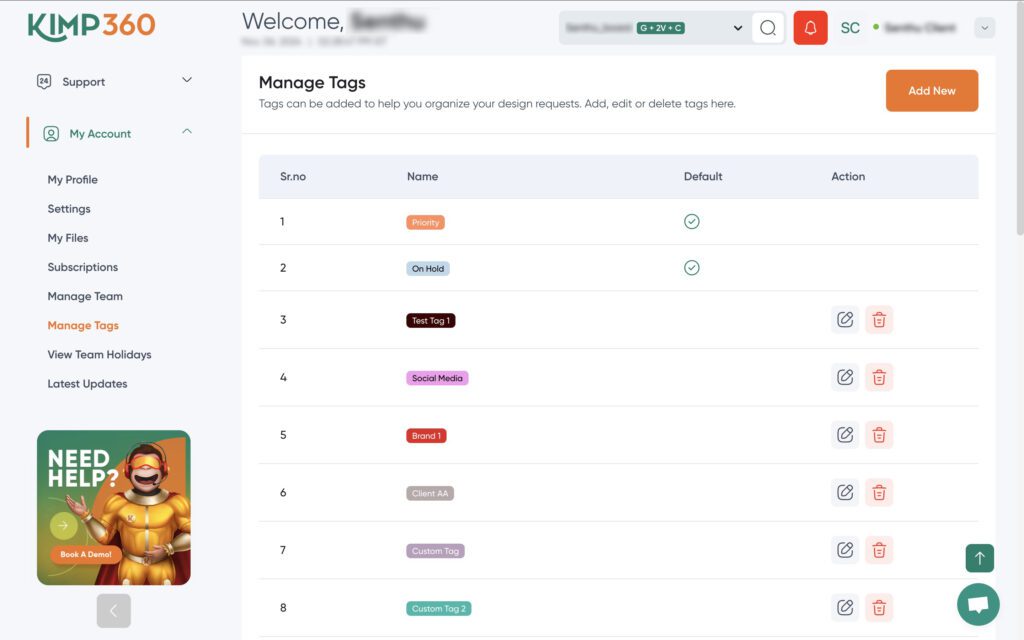
– To manage your tags, go to the ‘My Account’ section and select ‘Manage Tags.’ From there, you can add, delete, edit, and assign colors to your tags. Please note that two default tags, ‘Priority’ and ‘On Hold,’ cannot be modified.
– You can add multiple tags to any request, and these tags can be used later to filter your projects, making it easier to find exactly what you’re looking for.
Why Tags Are Essential:
– Better Organization: As the number of design requests grows, it becomes harder to track them all. Tags let you categorize and group requests, making it easier to manage large volumes of projects.
– Quick Searchability: By tagging your requests, you can use KIMP360’s filter feature to quickly locate specific projects. For instance, if you’re working on a campaign for a particular client, filtering by their tag will bring up all associated requests.
– Personalized System: You have the freedom to create tags based on your unique workflow, such as tagging requests by design type, campaign, or priority level.
Pro Tip: Get creative with your tags. Create a system that works best for you, whether it’s tagging by client, design type, or deadline urgency. This helps you stay on top of all your projects without missing a beat.
How to Use Labels & Tags in KIMP360:
Here’s how you can make the most of Labels and Tags in KIMP360:
– Viewing Labels:
1. Labels are automatically applied by the KIMP team based on the status of your request.
2. To see the label for any project, simply log in to your dashboard. The color-coded label will indicate if any action is needed from your side.
– Applying Tags:
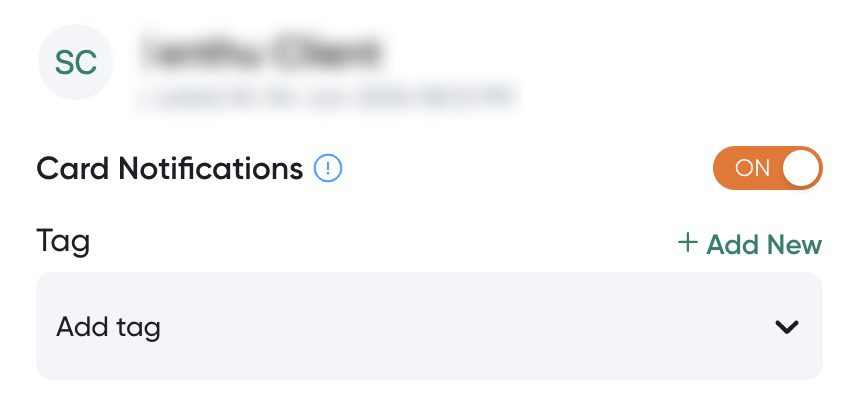
1. When creating or updating a design request, you’ll have the option to add custom tags.
2. Enter tags that best describe the request. These could be based on design type (e.g., “Brochure,” “Logo Design”) or the campaign it belongs to.
3. You can view and filter requests by their tags to quickly locate specific projects or related tasks.
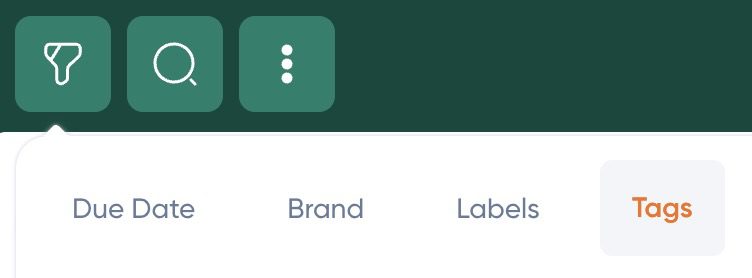
– Filtering Requests:
1. Use the filter option on the top bar in your KIMP360 dashboard to filter requests by tags. This will pull up all related requests, allowing you to see everything categorized under a particular tag.
Why You Should Use Labels and Tags Together
Even though only KIMP team members can apply Labels, the combination of Labels and Tags can significantly enhance your project management experience. Labels provide a clear indication of where your design request stands in the process, while tags give you more control over how you categorize and organize your projects.
For example:
– A design request for a social media post may have the label “Waiting for Confirmation” applied by the KIMP team, indicating that the design requires your confirmation.
– You could tag the same request as “Social Media,” “Q4 Campaign,” and “Client A” to group it with other related tasks and quickly filter it later.
This dual system of labels and tags ensures you’re always in control of your projects without the need to micromanage.
KIMP360’s Labels and Tags are designed to improve your project management workflow by offering transparency and flexibility. While labels are managed by the KIMP team to show the status of your design requests, tags give you the power to organize and categorize your projects based on your unique needs.
By leveraging both tools, you can easily track the progress of your designs, prioritize tasks, and manage large volumes of requests with ease. So, whether you’re handling a handful of requests or managing a large-scale campaign, KIMP360’s Labels and Tags have you covered.
Check out our YouTube video for a more detailed walkthrough on how to use these features!